

Set up your clinic: the first steps
The setup checklist, in the order that works best, plus the guided tour that lets you practise on sample data.
A new clinic needs four things before the front desk can work: a clinic profile, a team, a list of services and a first patient. Clinico keeps these in one checklist, Let's set up your clinic, and ticks each step by itself as you do the real work.
Before you start
You land on the dashboard after signing in. Everything else is reached from the sidebar.
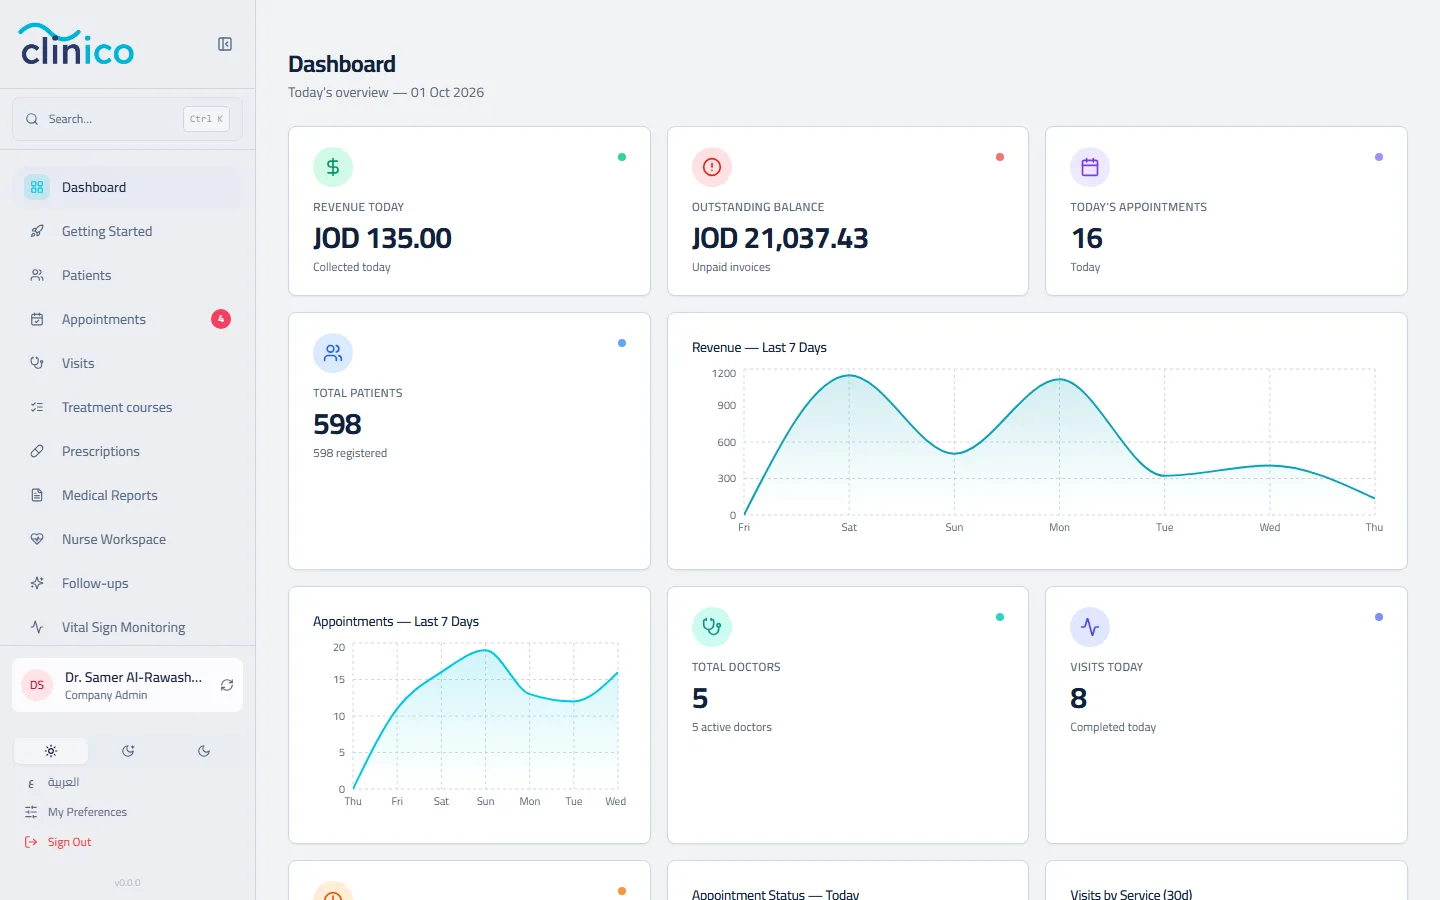
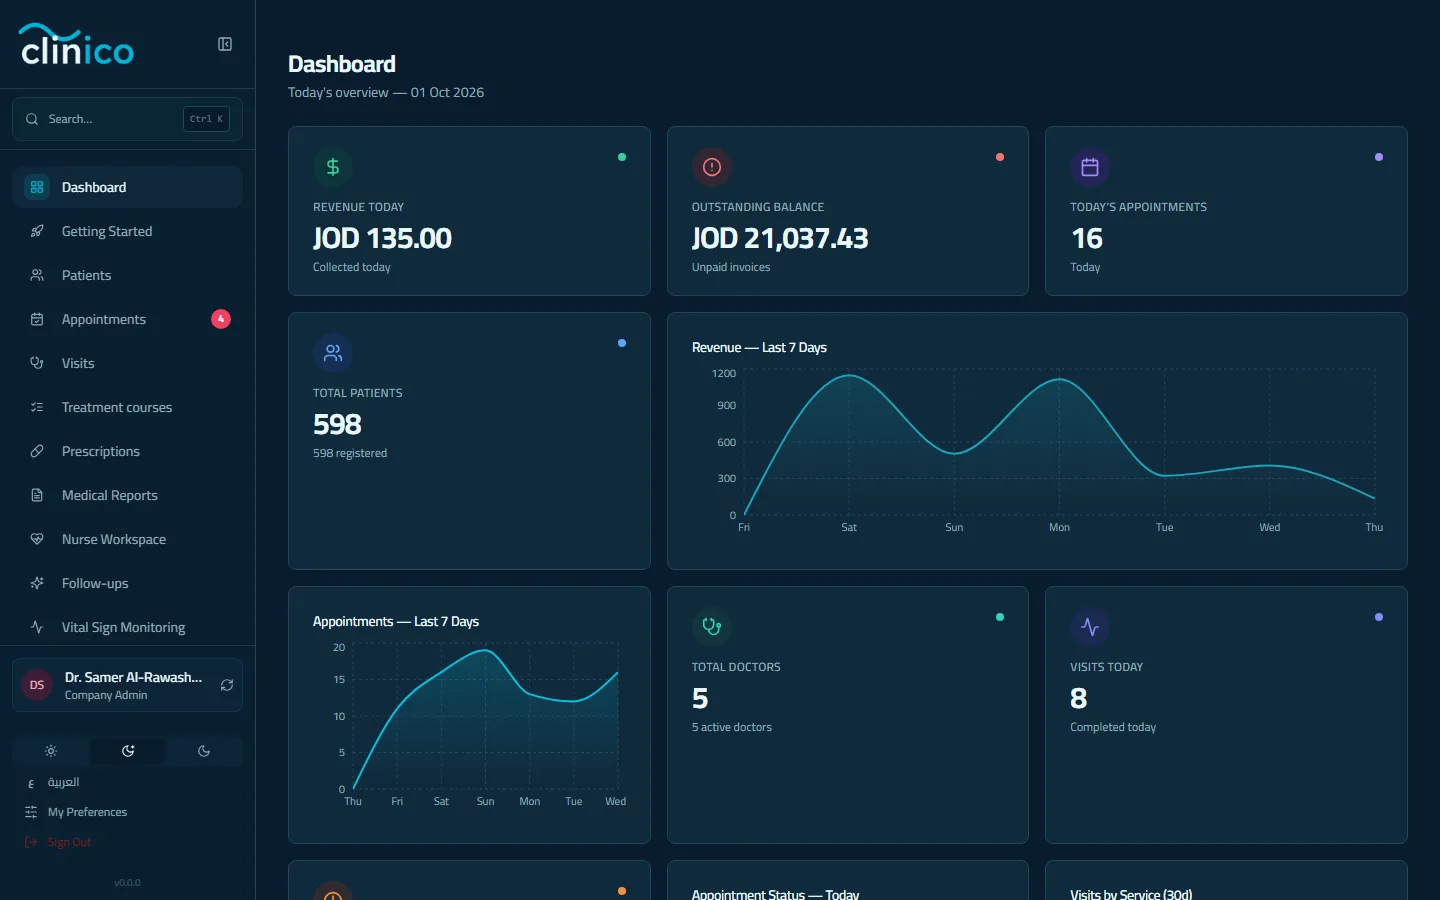
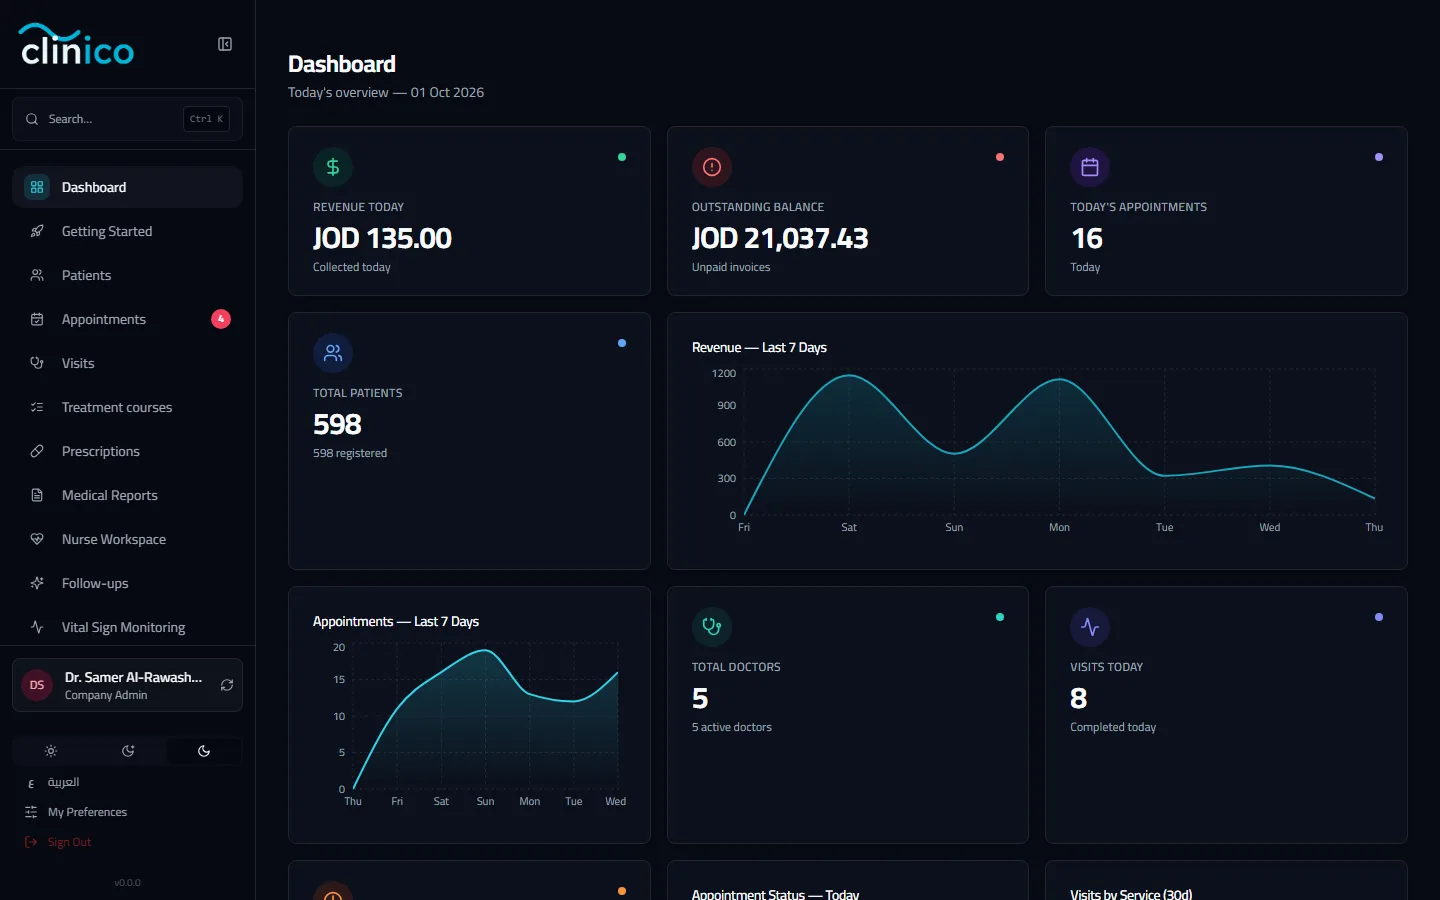
The owner's dashboard right after signing in
Find your way around
The sidebar is the map of your clinic. Every module is one click away, for example Patients.
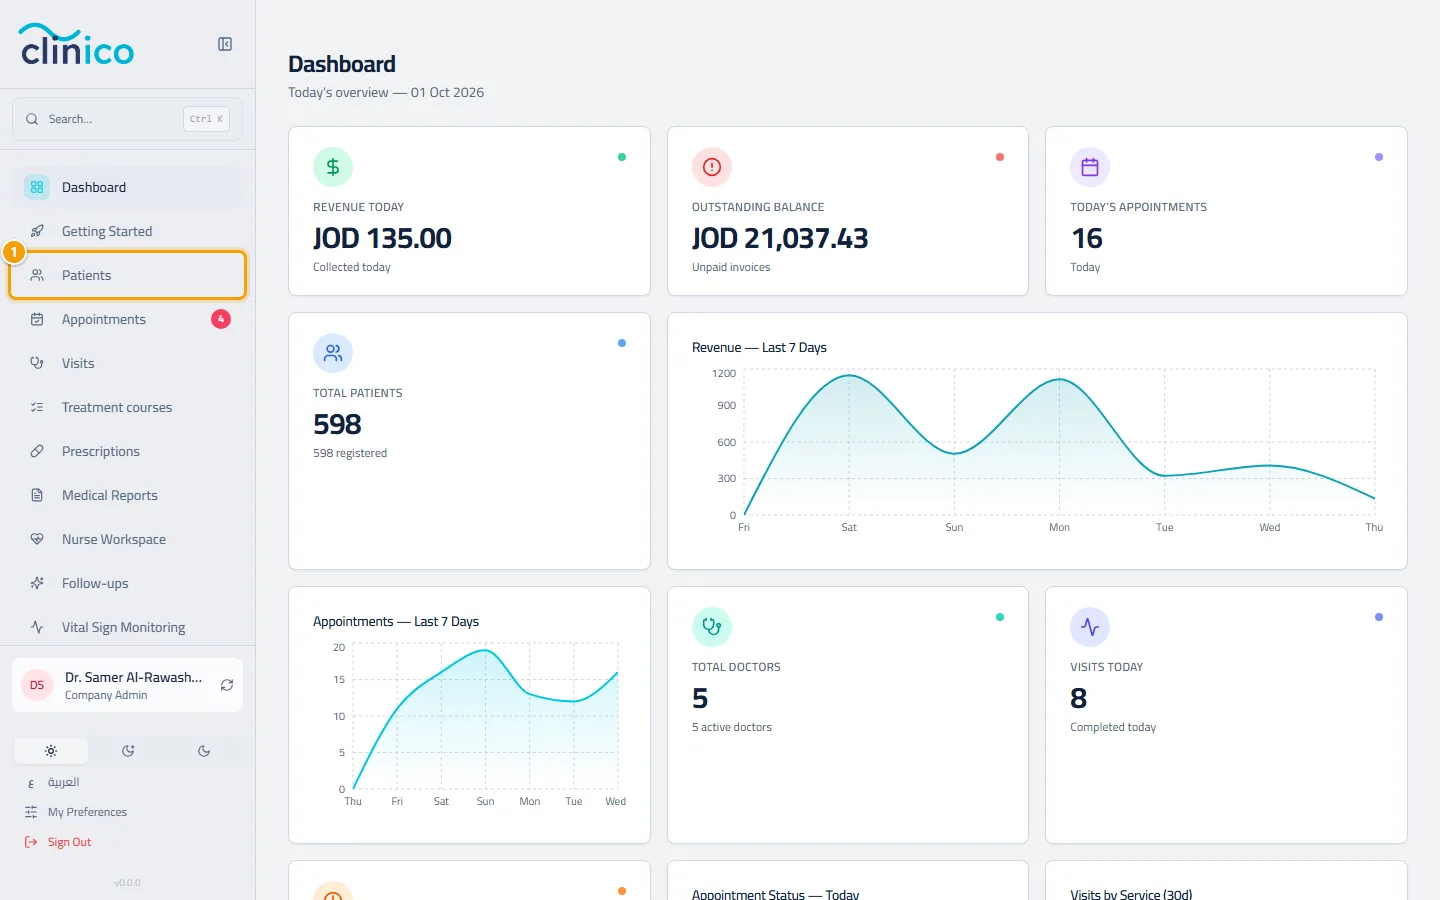
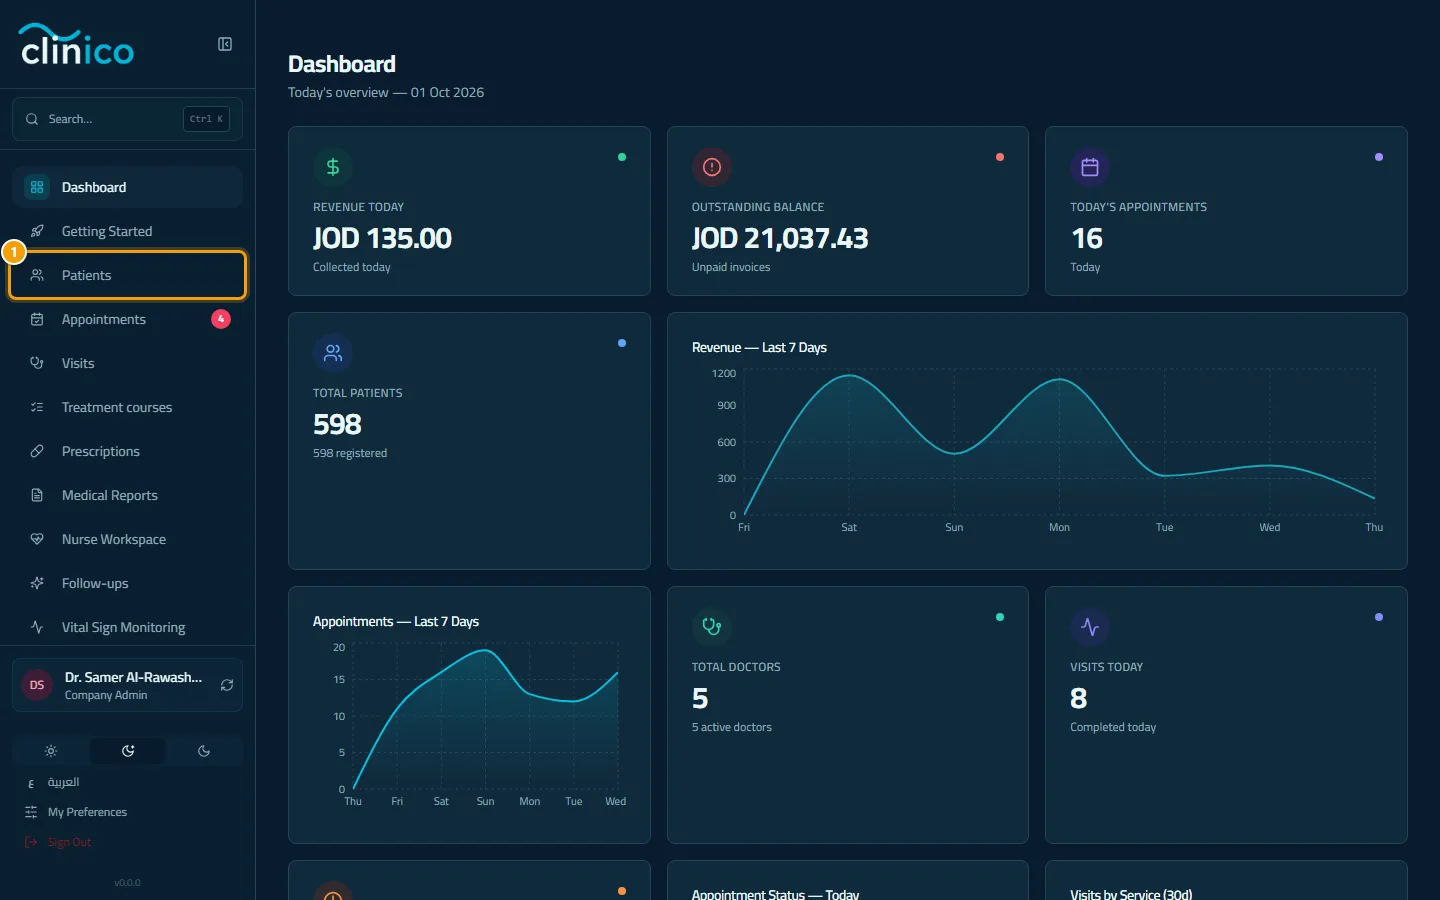
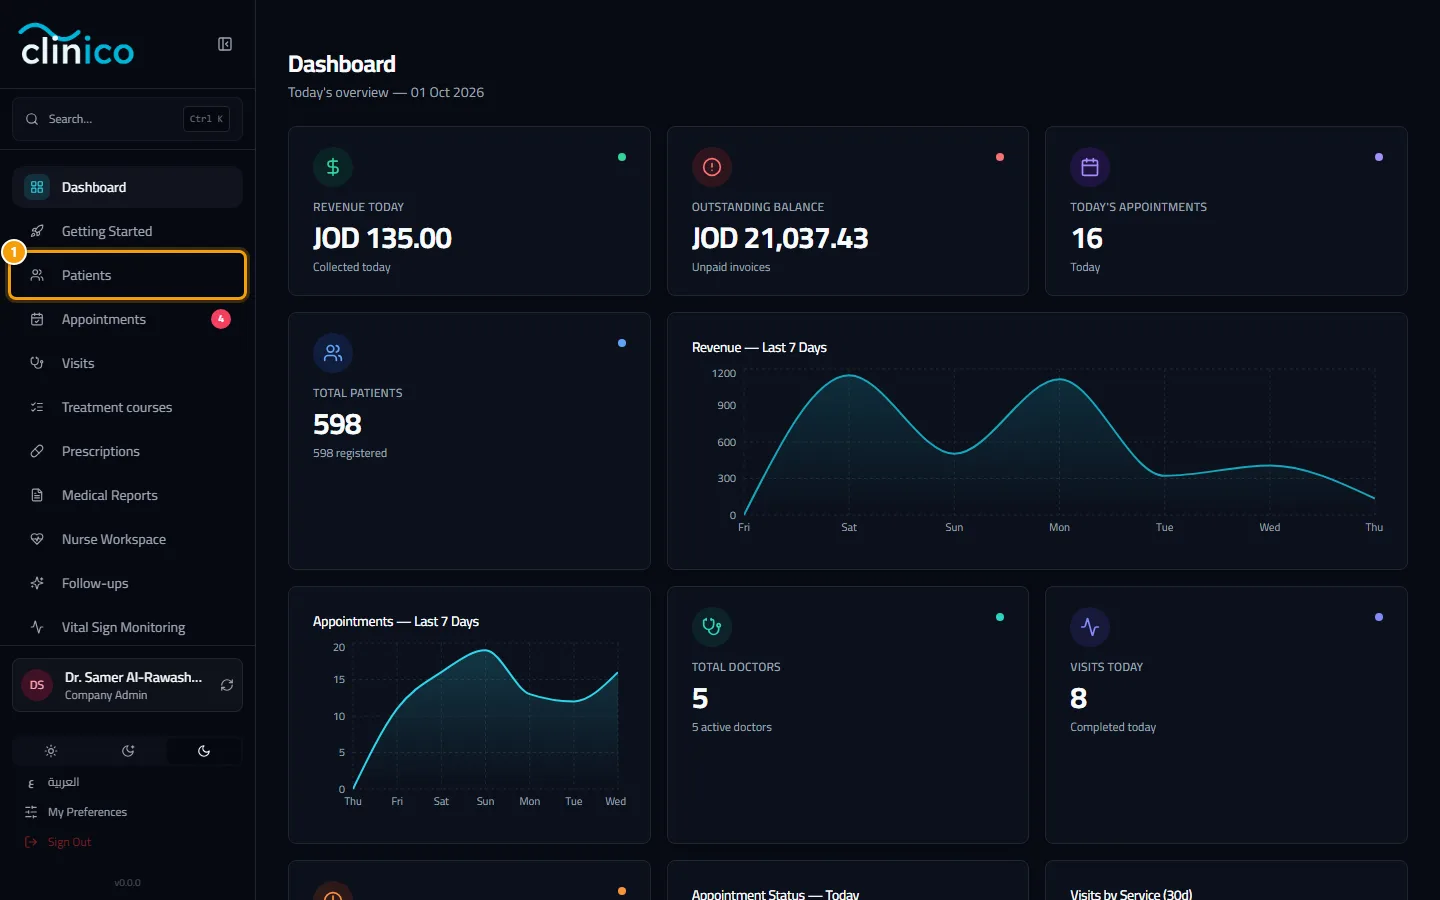
The sidebar with the Patients link marked
Work through the checklist
In the sidebar click Getting Started. Each step has a button that takes you straight to the right screen: Go to Settings (the clinic profile, at Branding), Invite staff, Add services and Add patient. Do them in any order; the list only suggests one.
Prefer to look first? Click Take the guided tour on the same page. It follows one patient from booking to a paid invoice on your own screens, and nothing you do in it is saved.
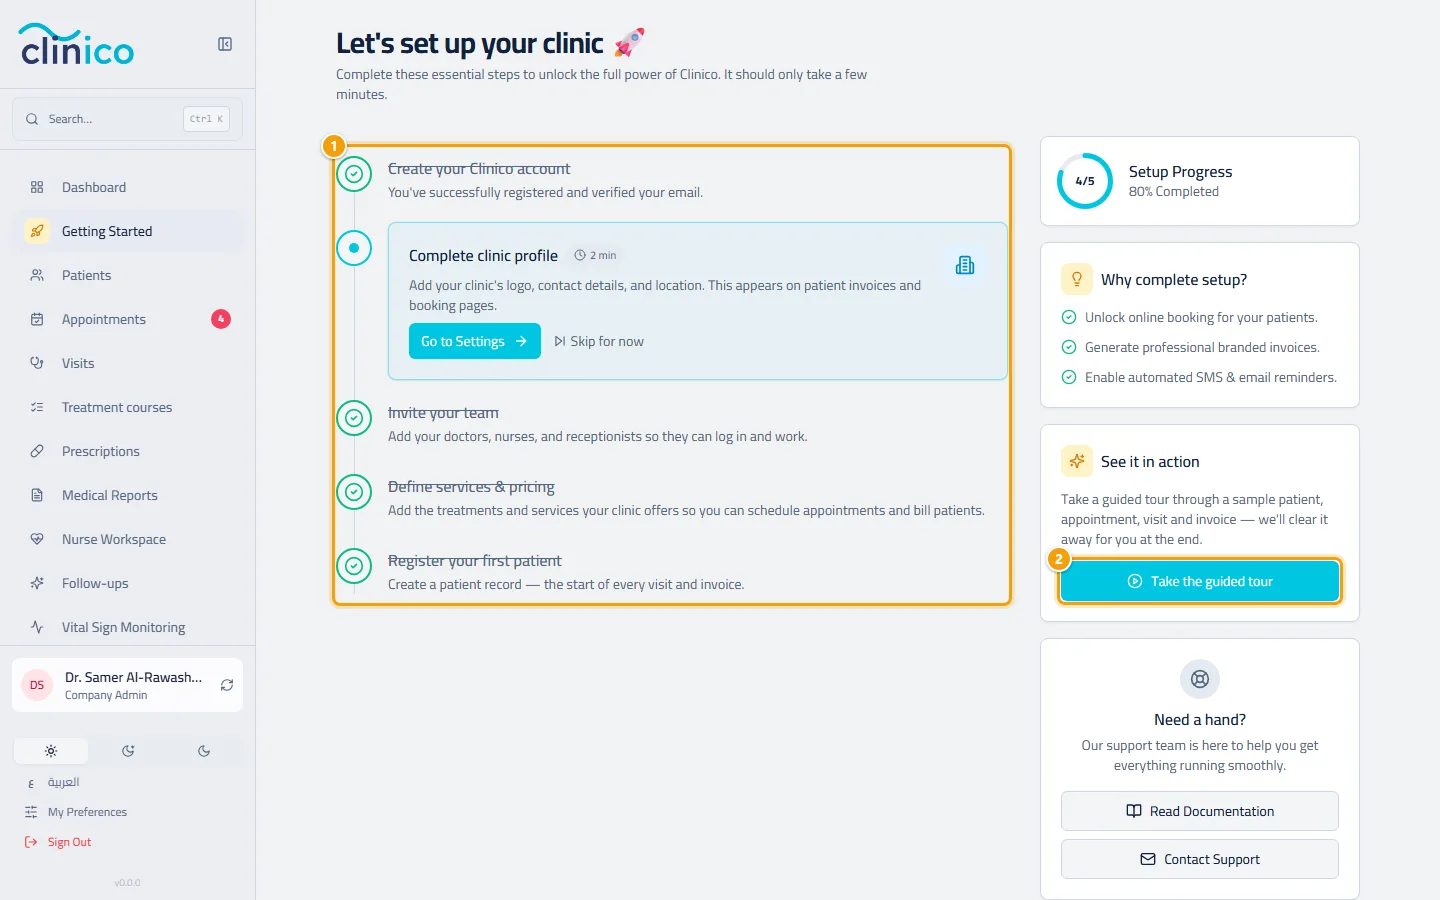
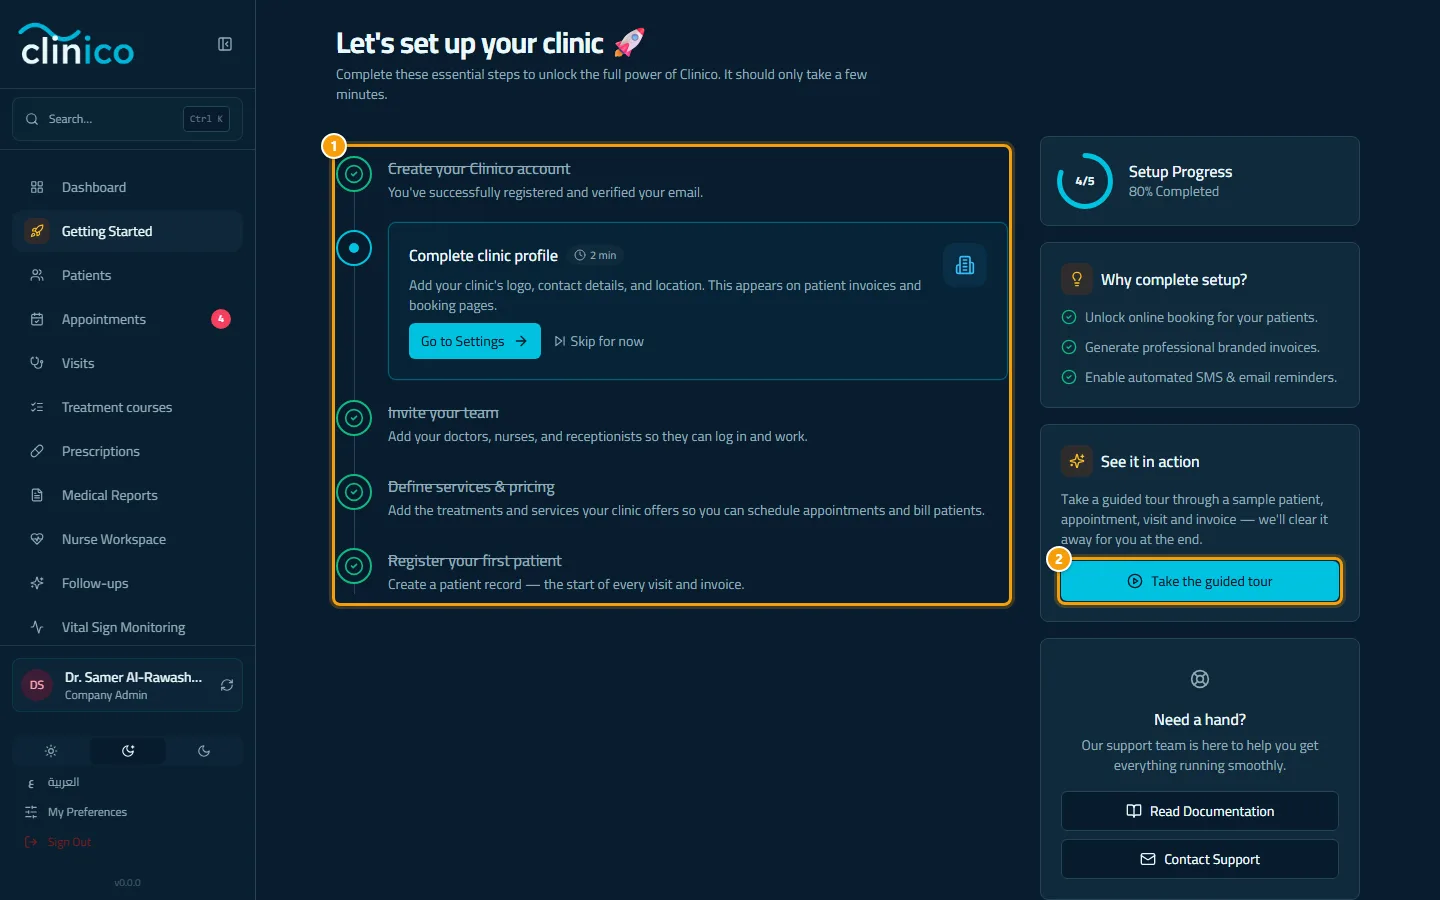
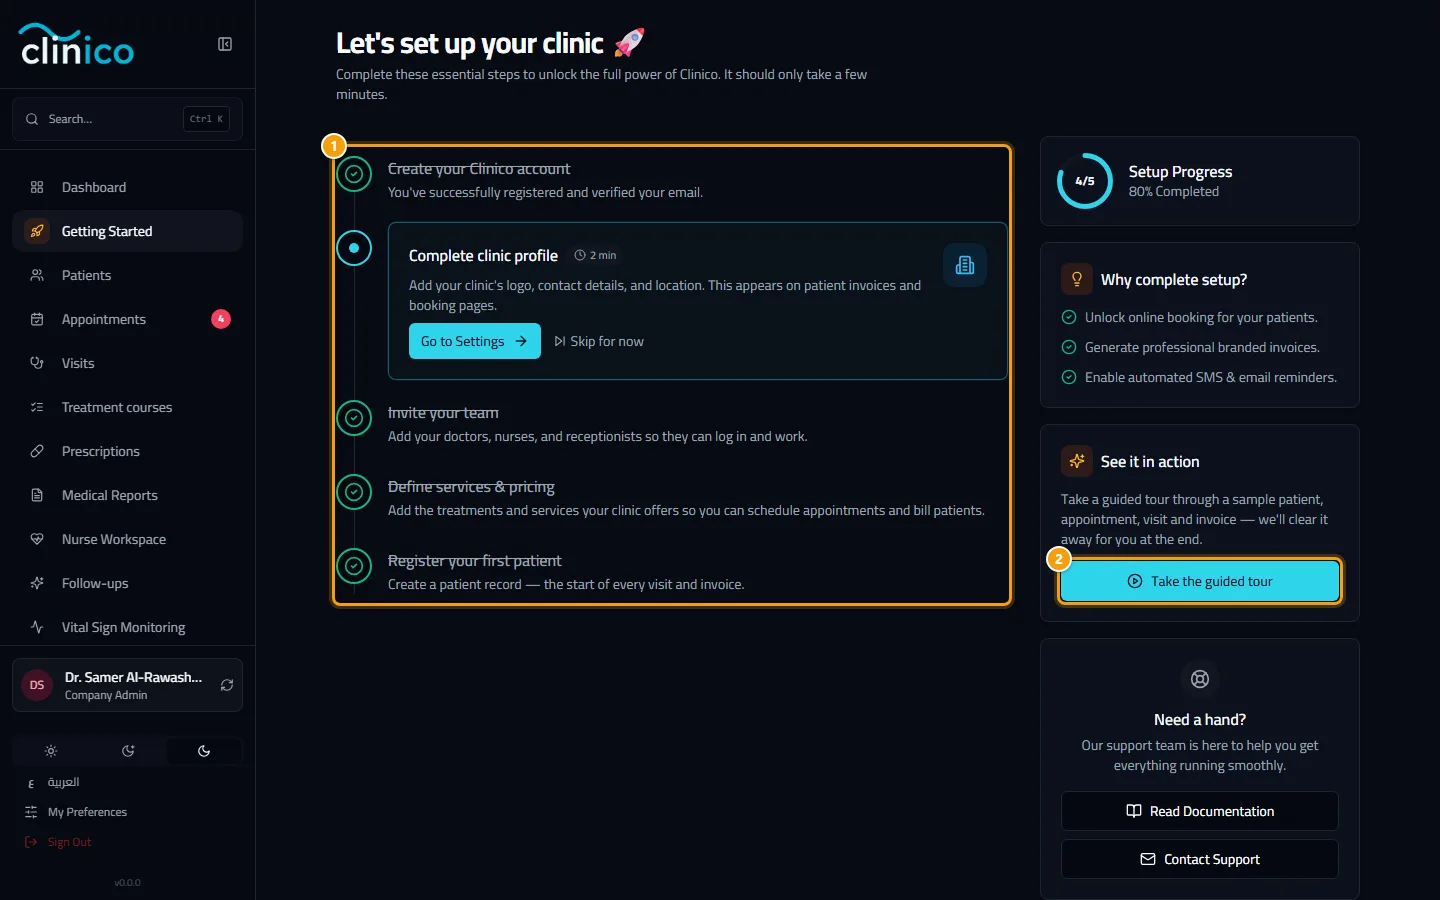
The checklist and the guided tour button
Each step has Skip for now if you would rather come back to it. Skipping only hides the step from the "current" marker on your screen; it does not tick it.
Good to know
Ticks come from real data. The profile step ticks once the clinic has a logo or a brand colour. The team step ticks once a second person is on the team. The services and patient steps tick once you have added a real one. Sample data from the tour never counts.
Once every step is done, Getting Started disappears from the sidebar. The page itself stays reachable from the search box at the top of the sidebar.
All guided tours live under Tour in the sidebar: short walkthroughs of patients, appointments, the visit, nursing, billing, reports and settings. The ones for your role come first, and a tick marks the ones you finished. You only see tours for screens your role can open.
A new member of staff gets a welcome card on their first visit to the dashboard, with the tours picked for their role. It never starts a tour by itself.
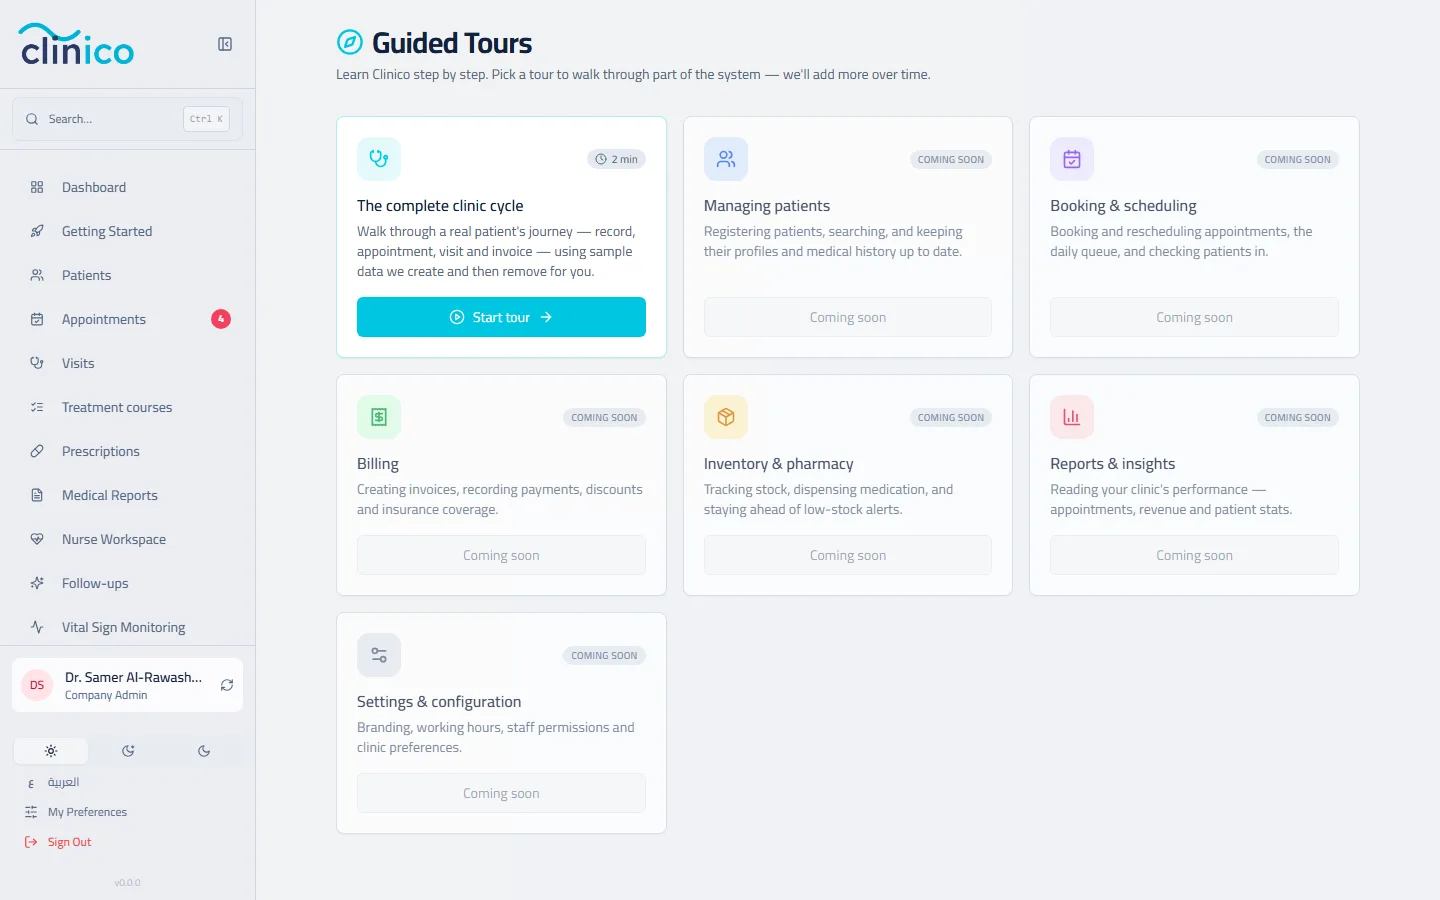
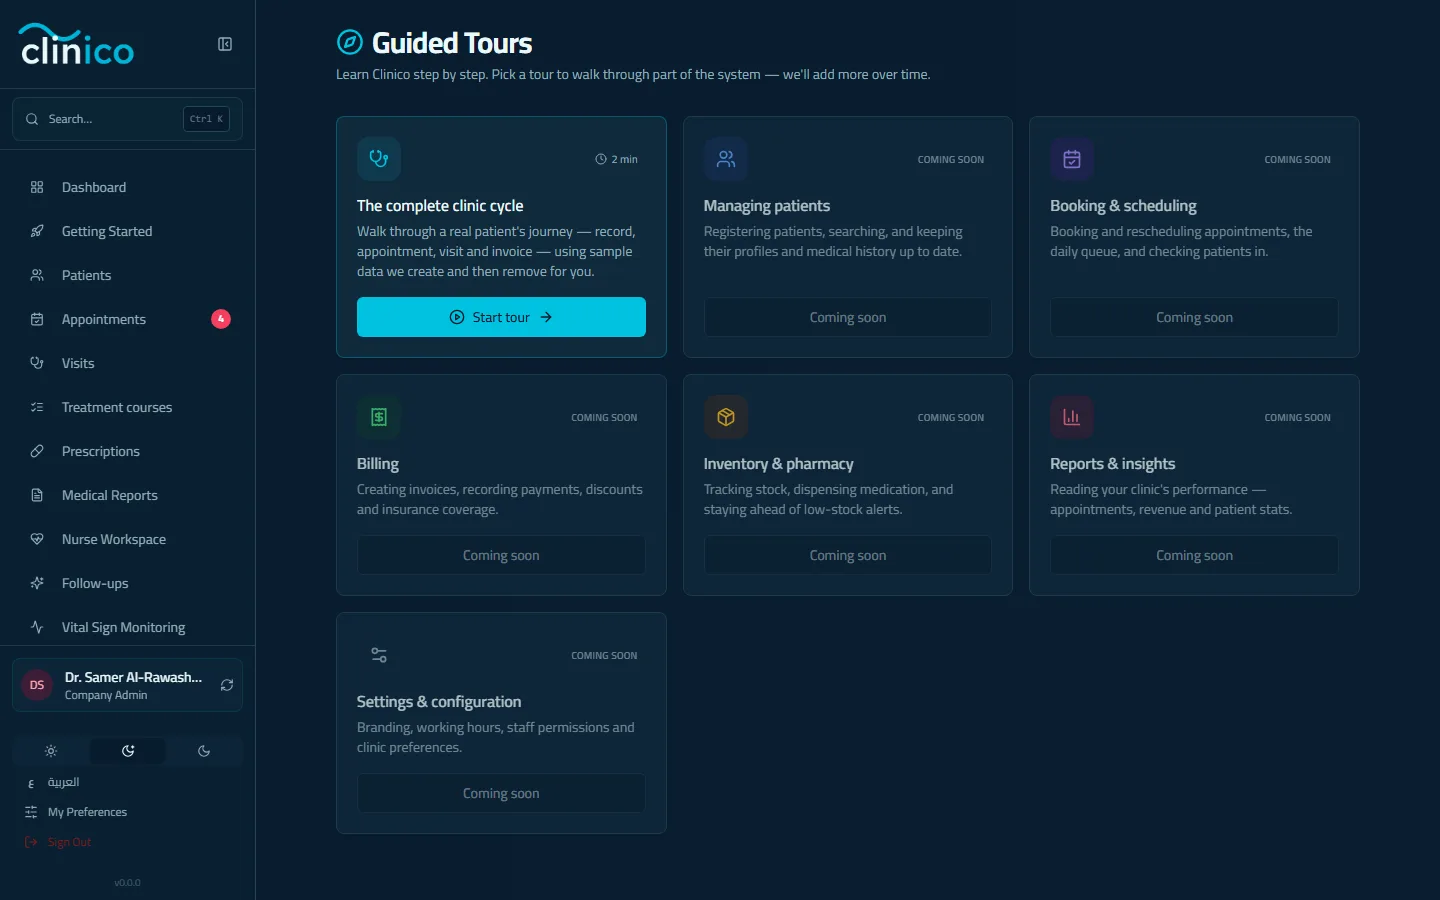
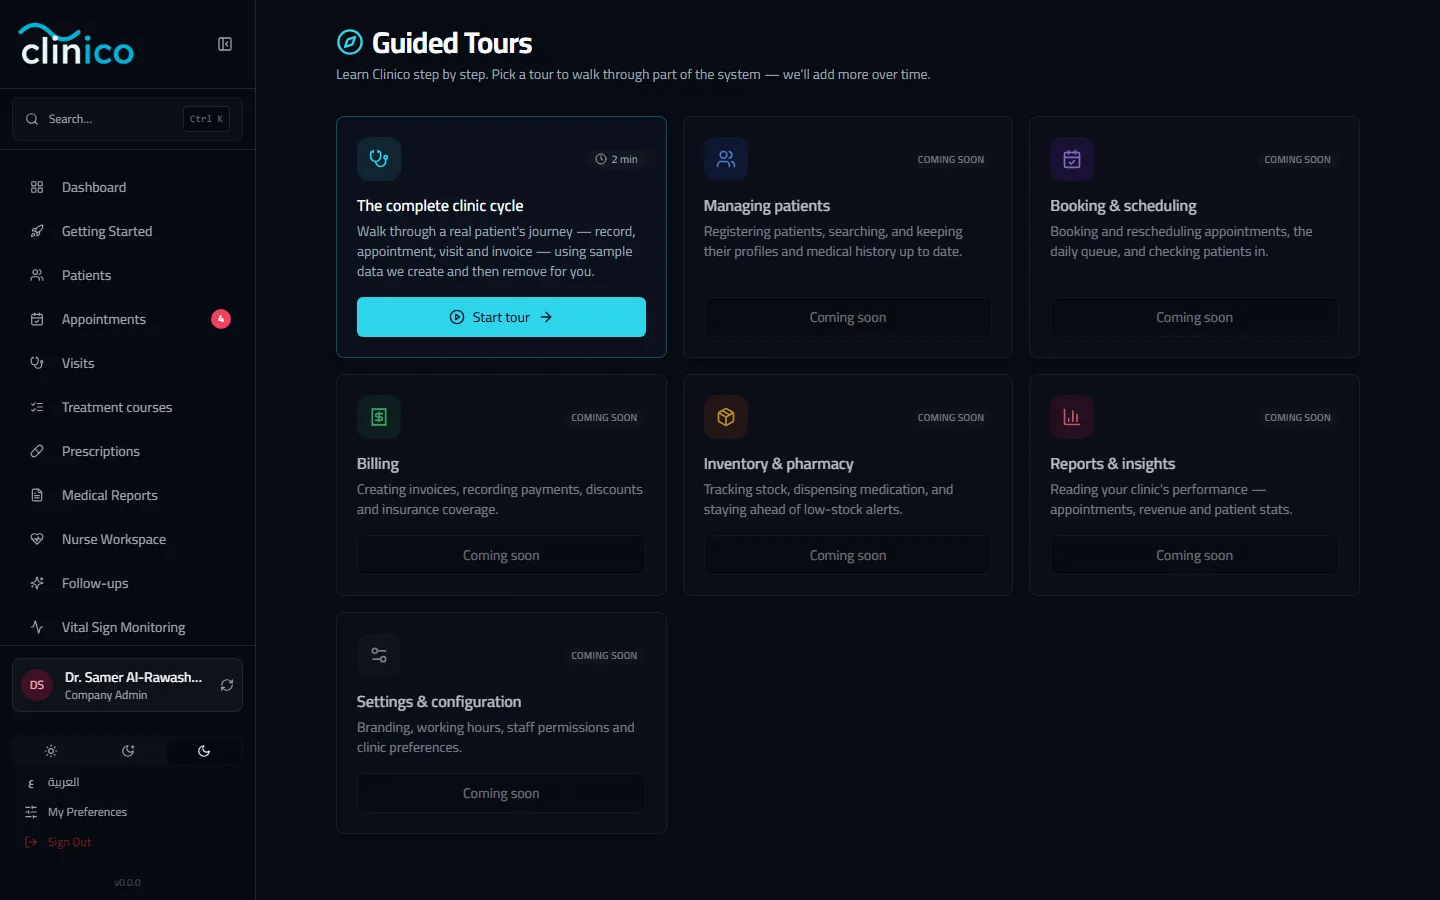
The guided tours page
Next
- Add a branch or department: the setup wizard creates your first branch; add the others, and any departments, from there.
- Invite your team and set their roles.
- Add your services, prices and packages.
- Register a patient.