

Check in, reschedule or cancel
Check a patient in when they arrive, move an appointment, cancel it, and close the ones nobody came to.
An appointment changes with the patient: they arrive, they ask for another day, they cancel, or they never show up. The front desk records each of these, and the doctor's queue and the invoice follow from it.
Before you start
- The appointment must already exist: see Book an appointment.
- Check in, reschedule and cancel are open only until the visit starts. Once the doctor has begun, the appointment can no longer be moved or cancelled.
Steps
Open Appointments in the sidebar and find the appointment in the list, or click it to open its page.
Check in. When the patient arrives, click Check In on their row or at the top of the appointment page. The patient joins the queue, and the status changes from Scheduled to Checked In.
Reschedule. Click Reschedule (in the row's ... menu, or on the appointment page). In Edit Appointment, change the date, Start Time, doctor or branch, then click Save Changes.
Cancel. Click Cancel Appointment, write the Cancellation Reason and confirm with Yes, Cancel Appointment. The reason is optional, but it is what everyone reads later.
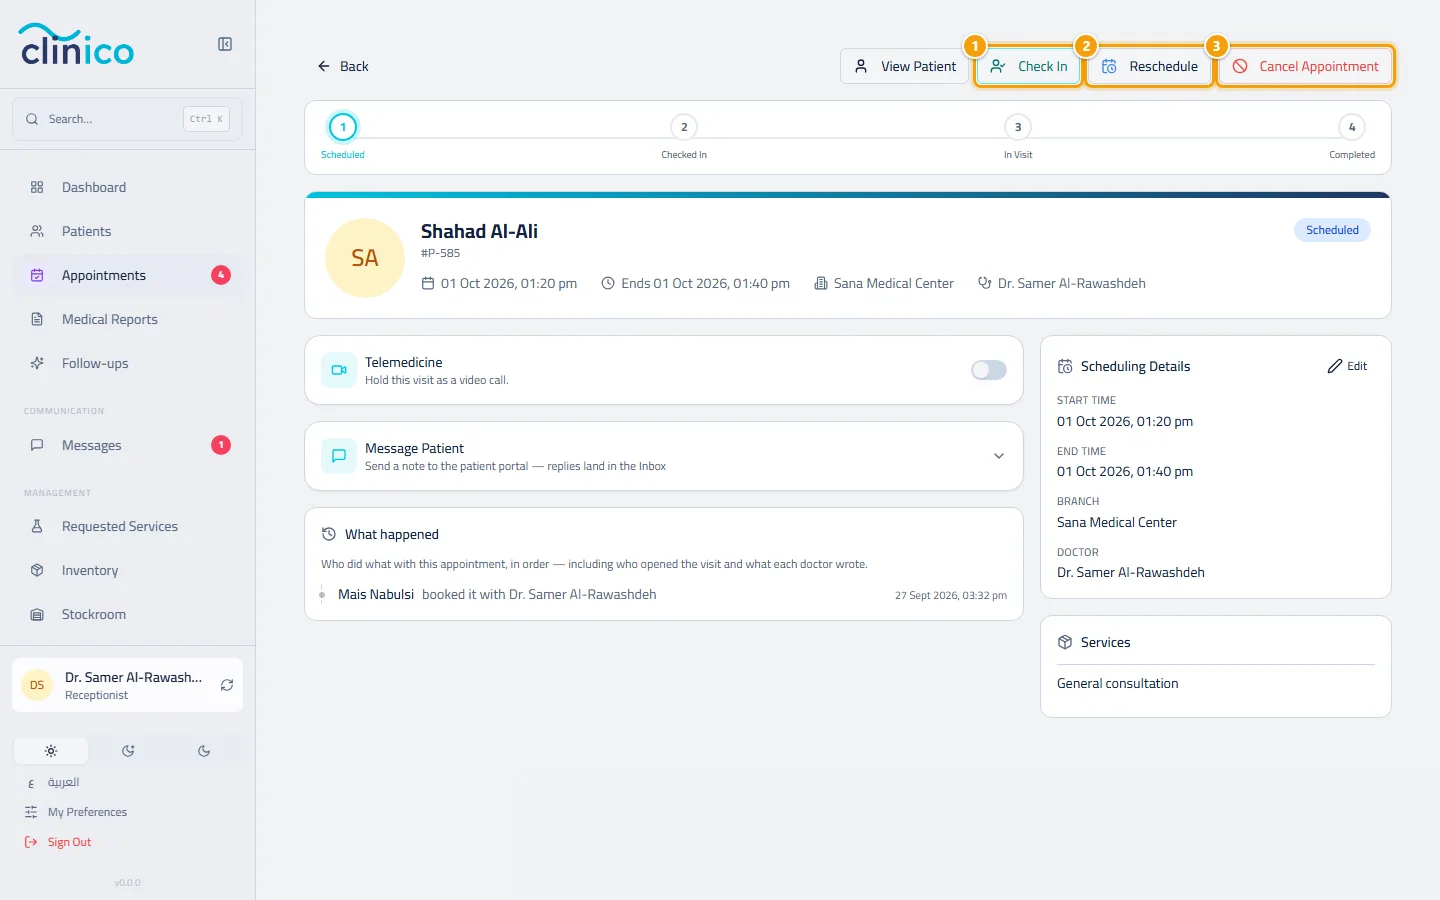
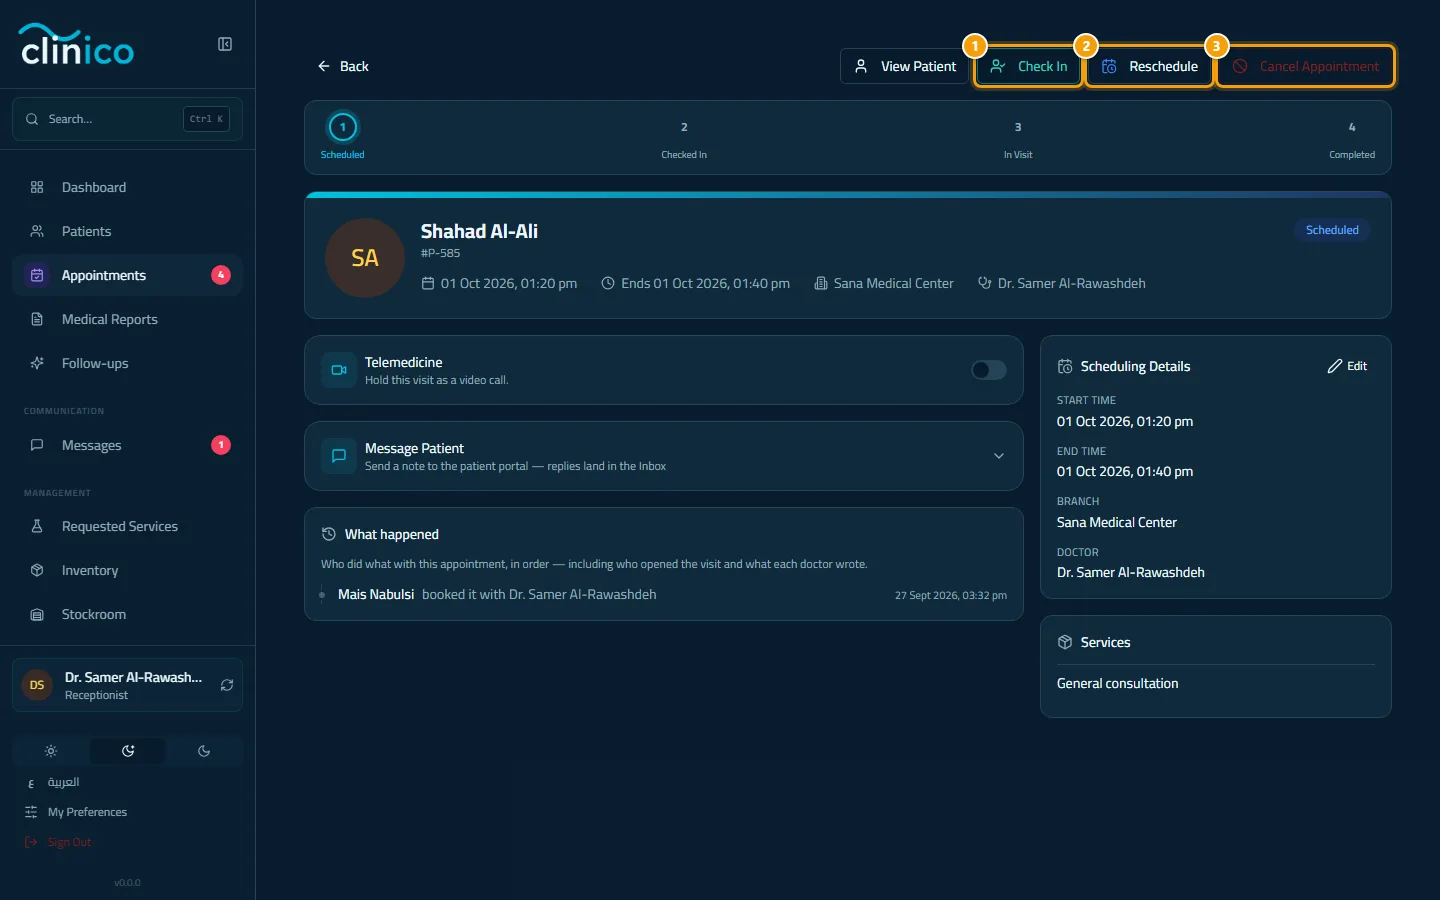
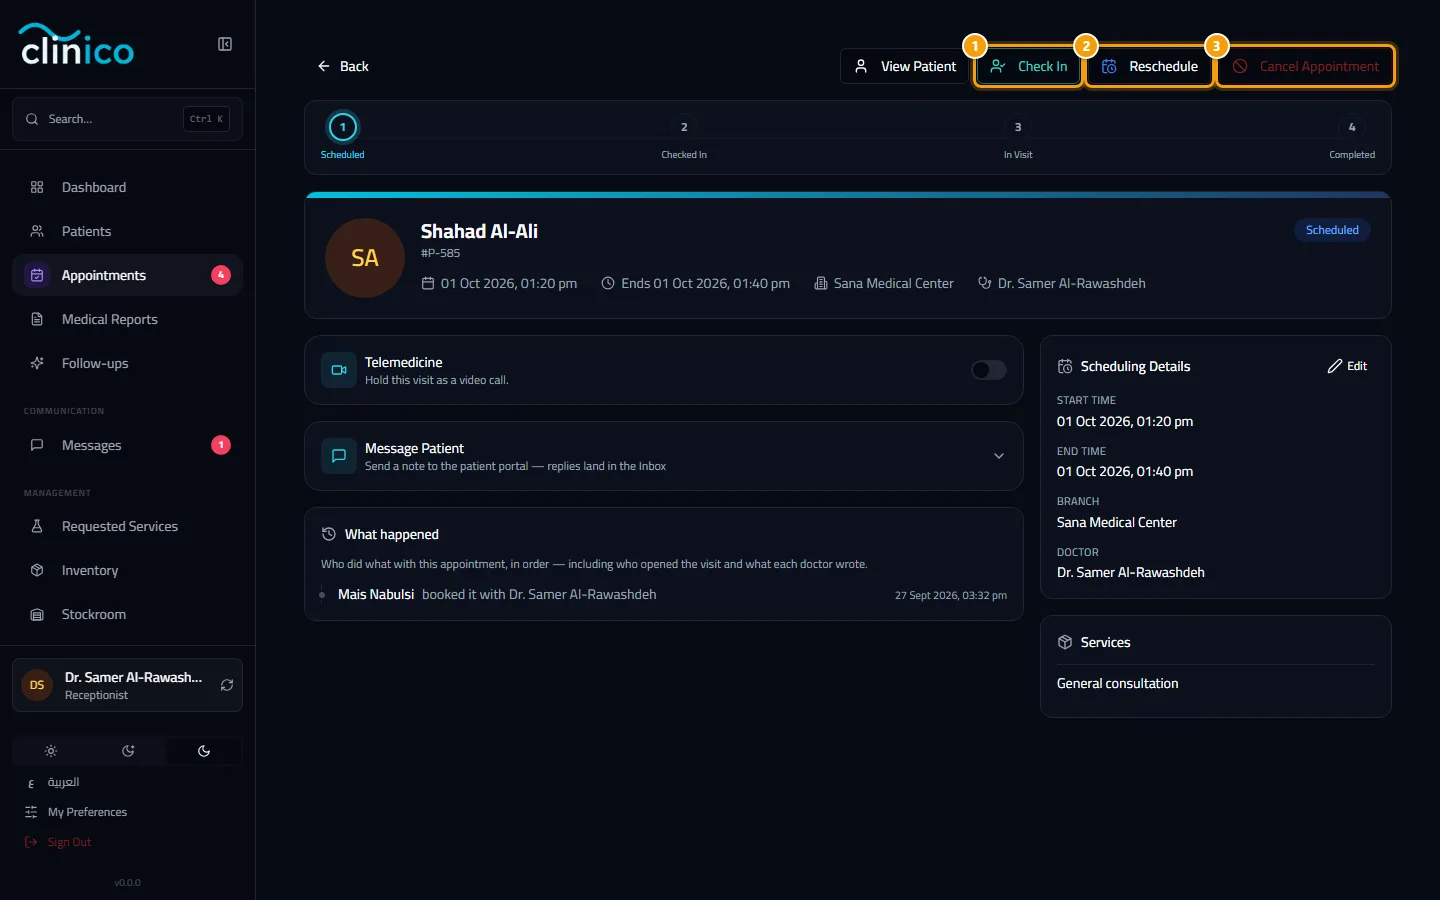
Check In, Reschedule and Cancel Appointment at the top of an appointment 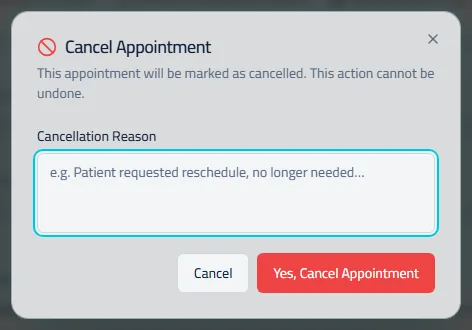
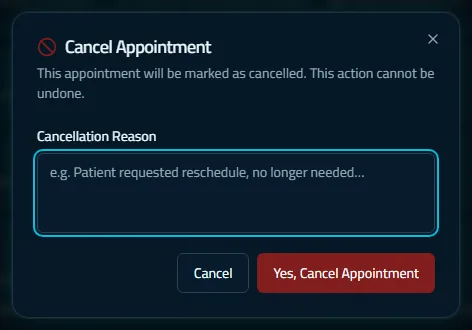
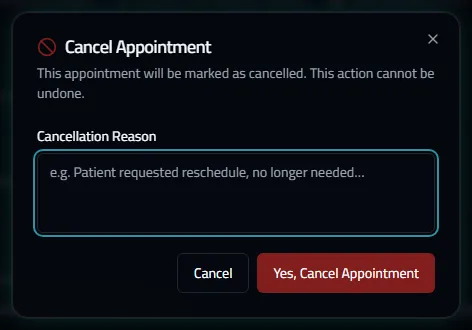
The cancel dialog with the reason box Below the details, the What happened card lists, in order, who did what with this appointment: who booked it, who checked the patient in, who moved or cancelled it, and what each doctor wrote.
See today's queue
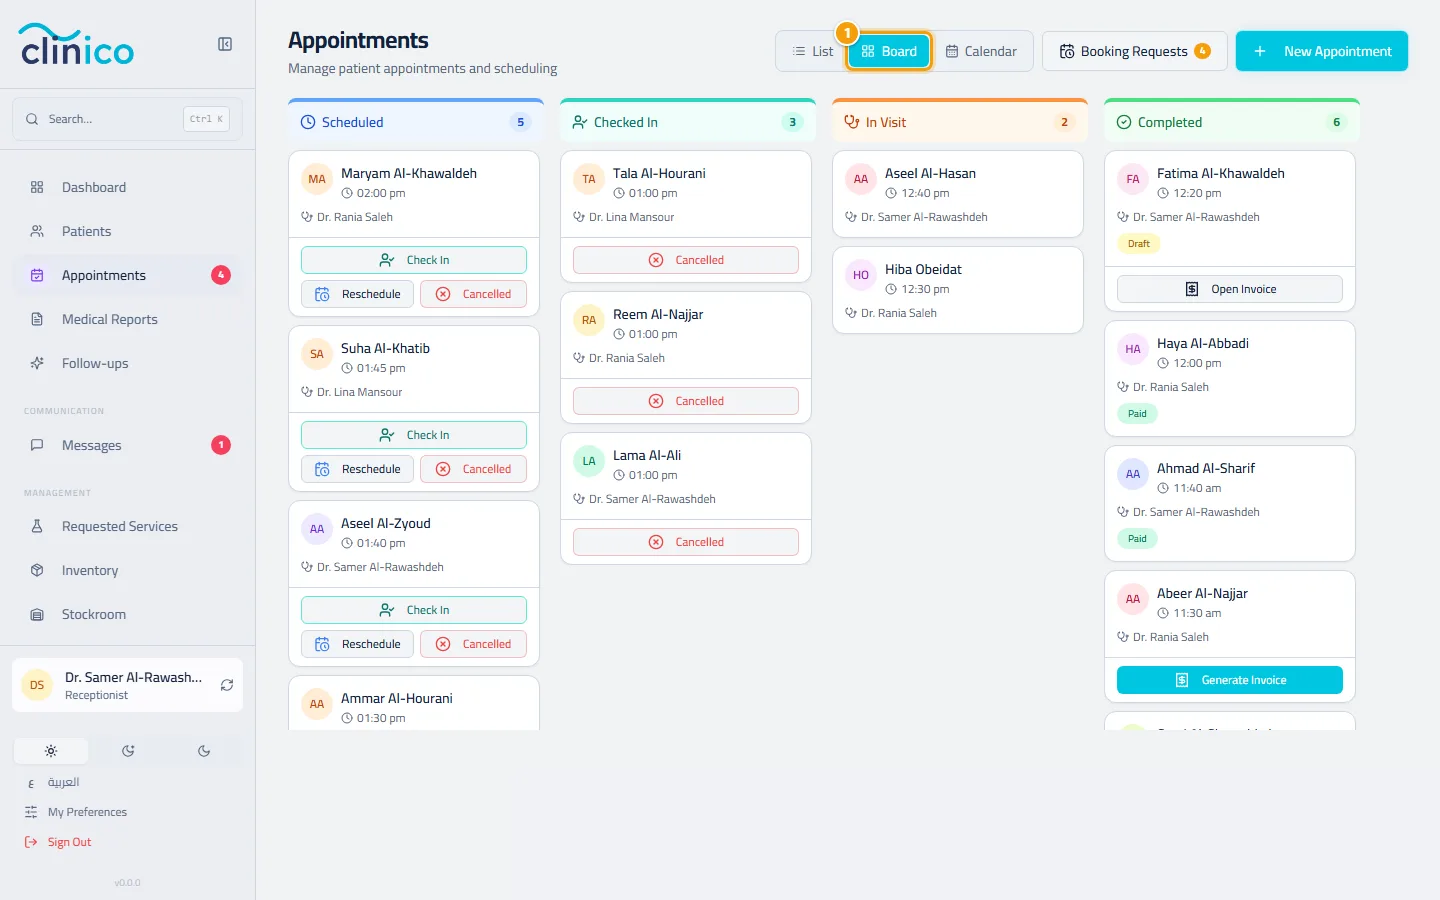
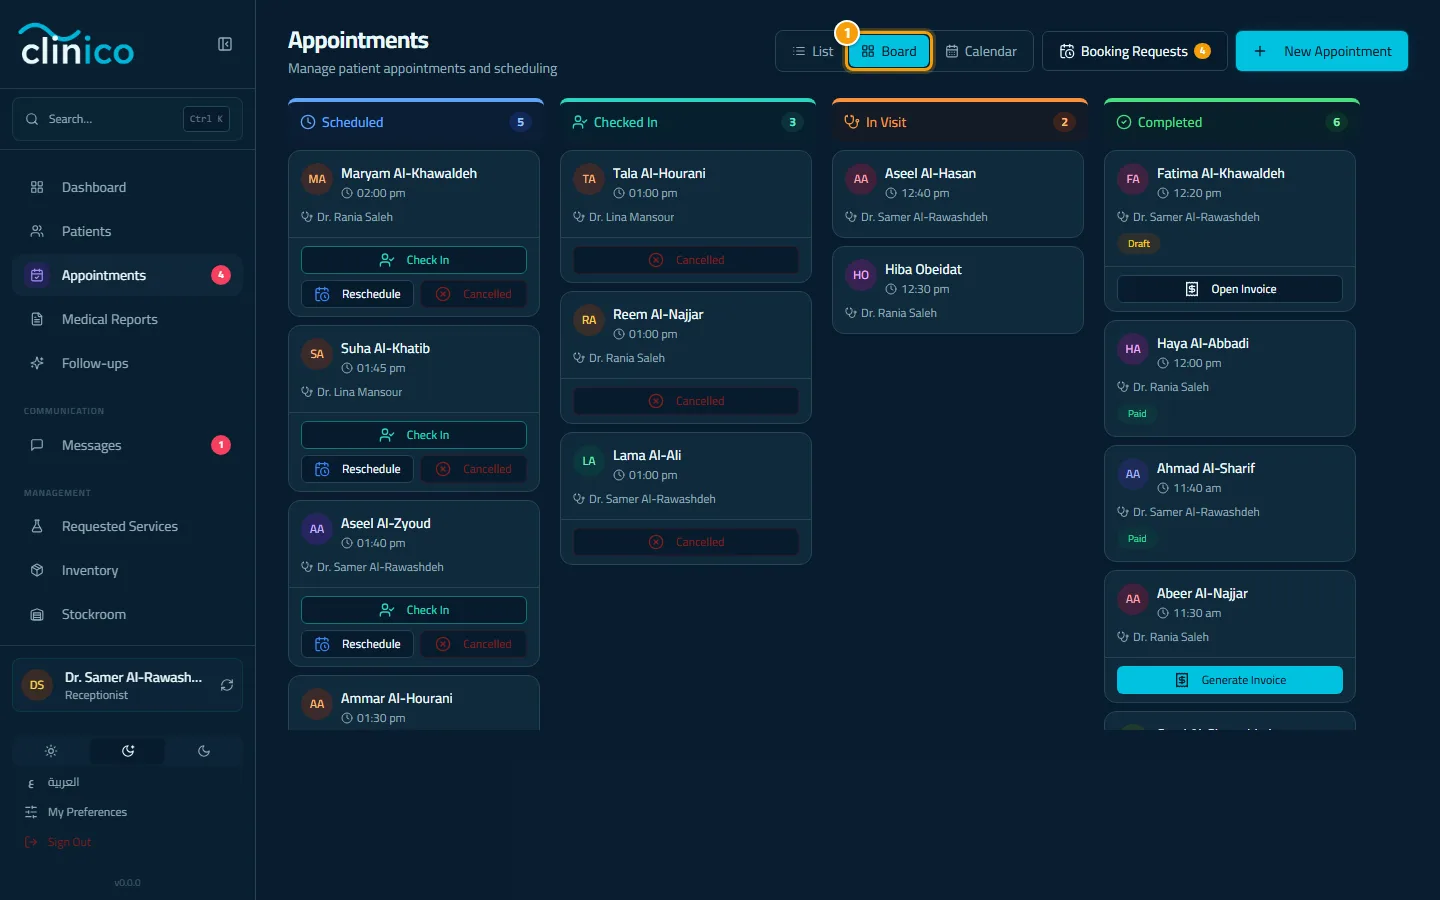
On Appointments, click Board (next to List and Calendar). It shows today's appointments in four columns: Scheduled, Checked In, In Visit and Completed. Each Scheduled card has Check In and Reschedule buttons, and a red Cancel button that cancels it. Use All providers to show one doctor's queue.
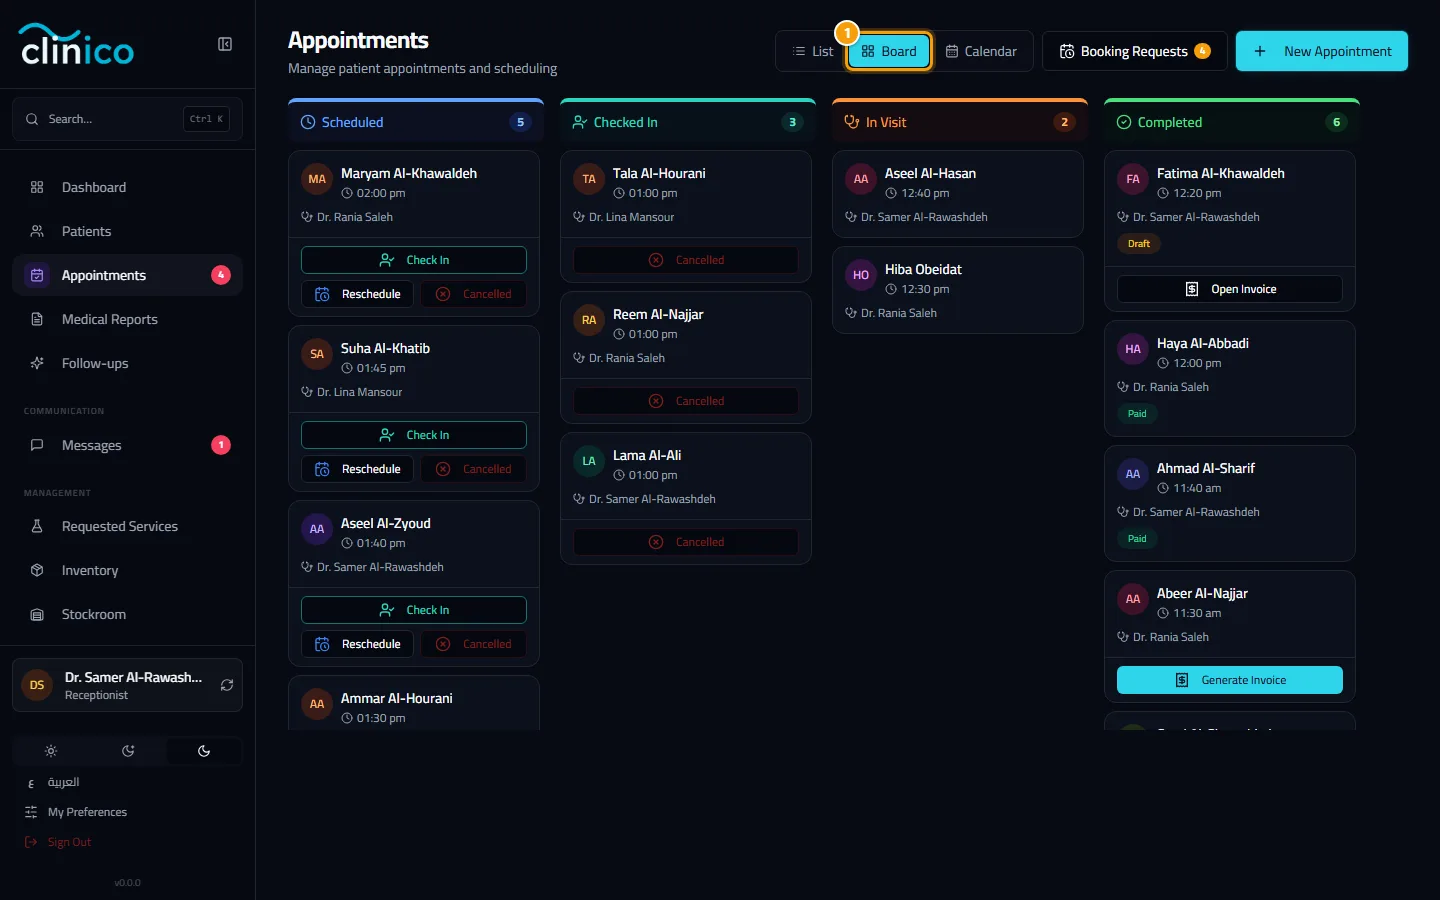
The old Patient Queue address opens Visits, which is the doctor's own queue: see Start and complete a visit.
When the patient did not come
Nothing closes an appointment by itself. A patient who never arrived stays Scheduled until the desk says what happened, and the appointment stays in the lists as open.
On Appointments, click the Overdue filter. It shows the appointments whose day has passed and that are still open.
Tick the patients who did not come, then click Mark as no-show and confirm. You can also do one at a time from the row's ... menu.
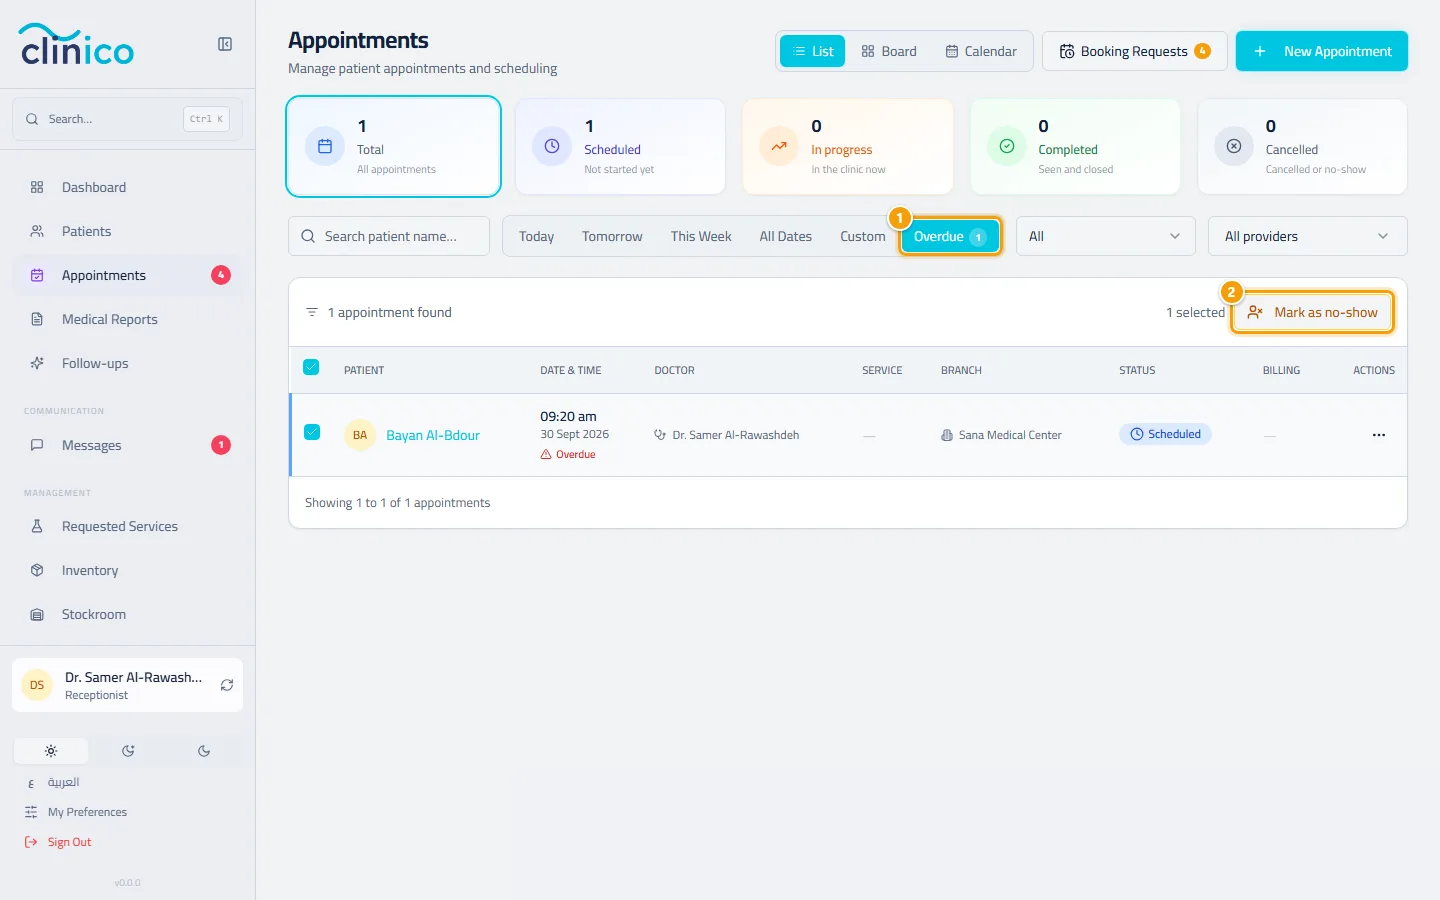
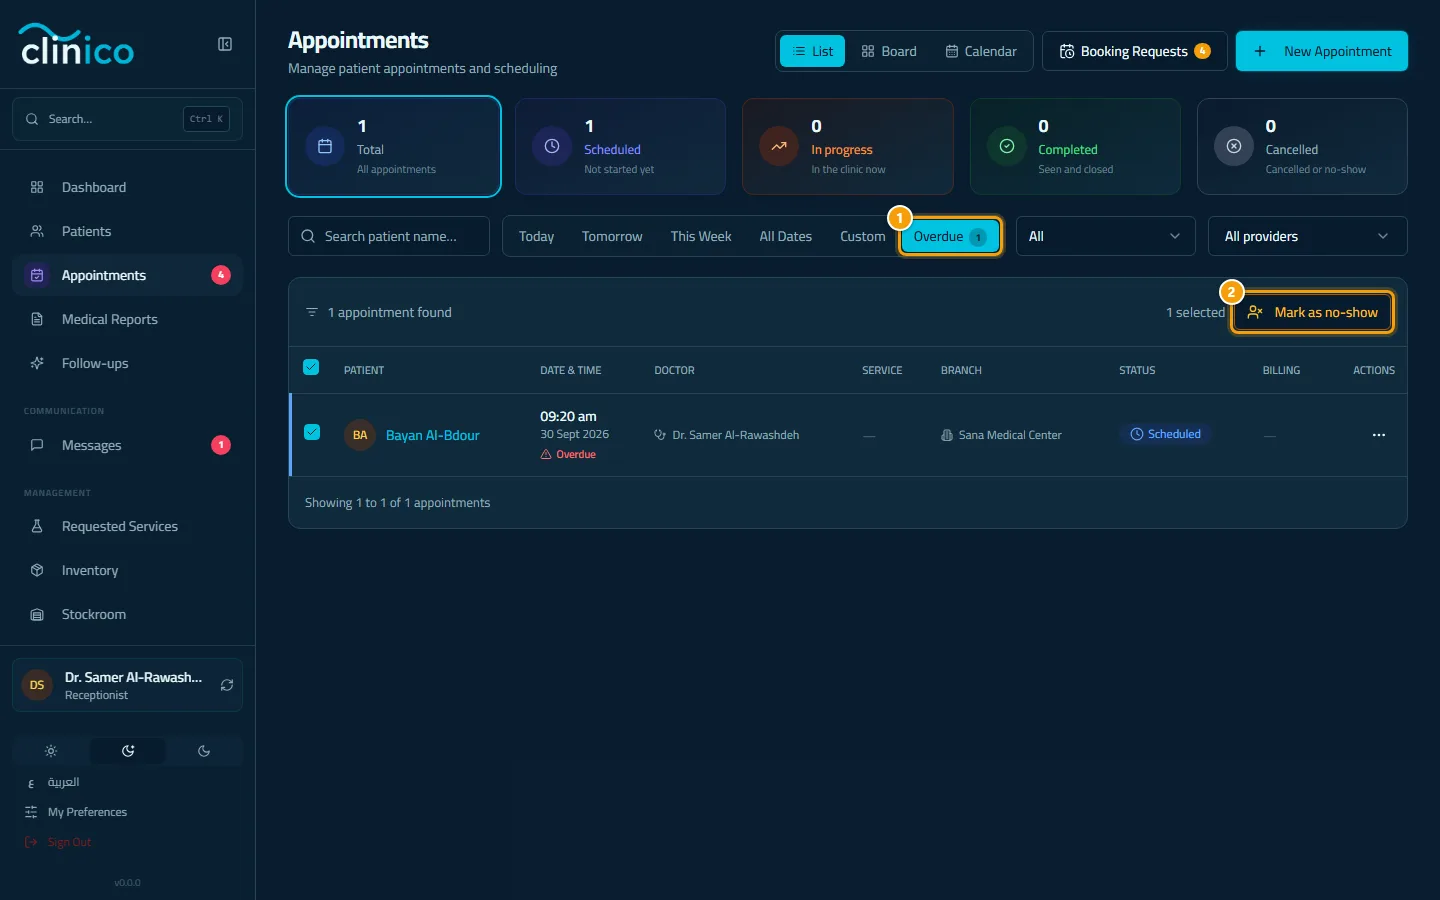
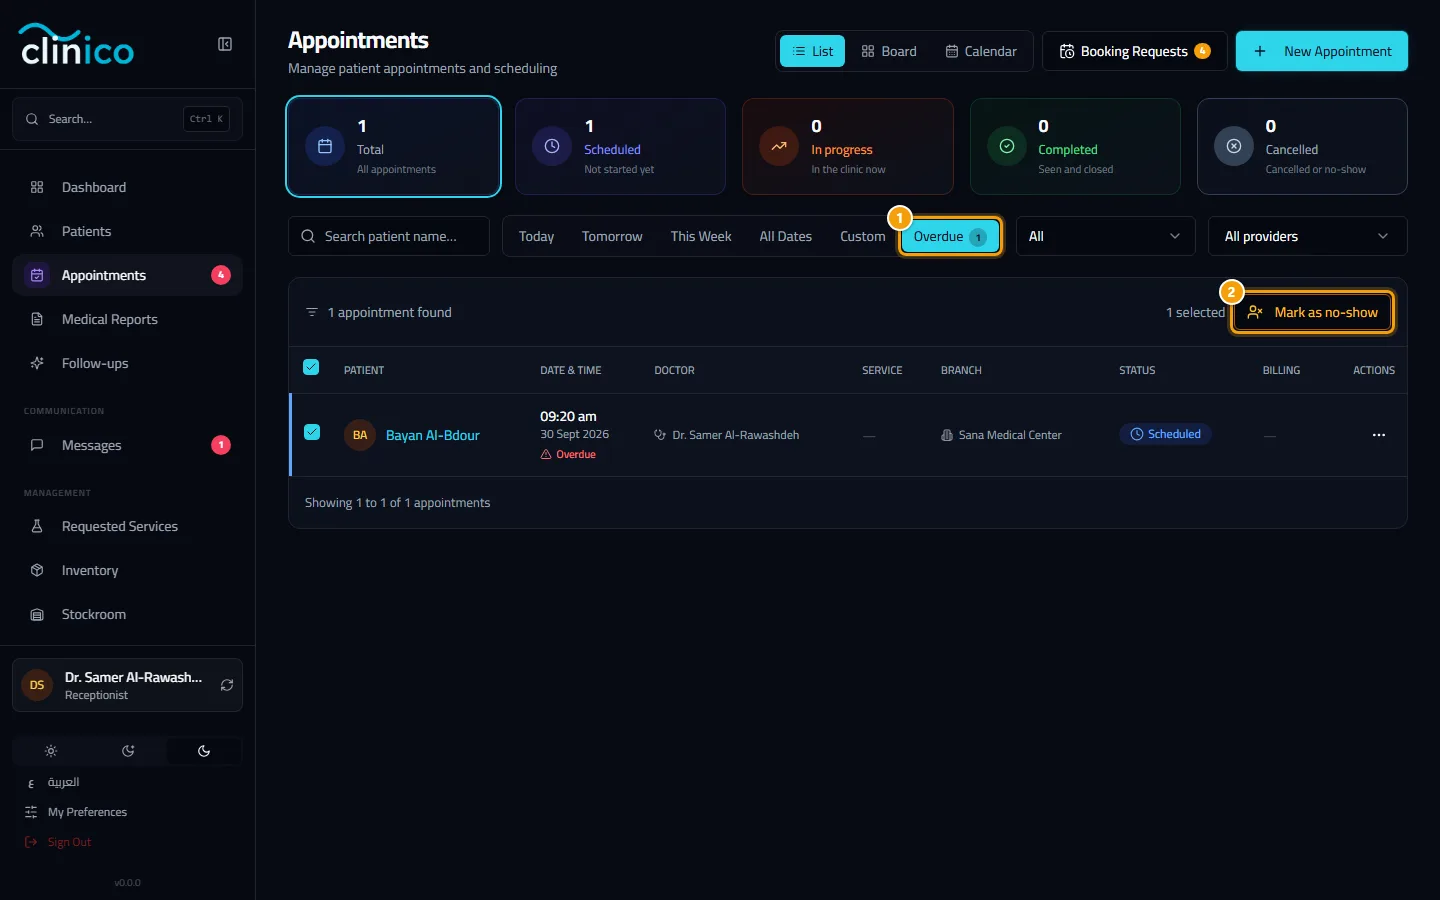
The Overdue filter with a row ticked and Mark as no-show
Good to know
- Moving an appointment sends it back to Scheduled, so check the patient in again when they arrive.
- If someone tries to start the visit for a patient who was never checked in, Clinico asks Patient is not checked in. Confirm with Yes, check in and it does both at once.
- A video visit is not checked in at the desk, so it has no Check In button.
After you finish
- The doctor starts the visit from their queue. When it is complete, the front desk invoices it: Issue an invoice and take a payment.